Assess security needs based on property size and layout, positioning cameras in visible areas at strategic heights. Choose weatherproof cameras with motion detection, adjustable mounts for realistic placement. Mount or place cameras securely, connect to power, and configure settings. Inspect monthly, clean lenses, replace batteries, update system periodically.
“Enhance your home’s security without breaking the bank with weatherproof outdoor fake security monitoring systems. This comprehensive guide offers a step-by-step approach to installing an effective outdoor dummy camera system. From assessing your unique security needs to selecting robust, weatherproof cameras and strategically placing them for maximum coverage, we’ve got you covered. Learn the installation process and maintenance tips to ensure a reliable, long-lasting surveillance setup.”
- Assess Your Outdoor Security Needs
- Choose Weatherproof Fake Cameras
- Select Optimal Placement for Dummy Cameras
- Install and Configure Outdoor Dummy Camera System
- Maintain and Update Your Weatherproof Fake Surveillance Setup
Assess Your Outdoor Security Needs
Before installing an outdoor dummy camera, it’s crucial to assess your specific security needs. Consider factors like property size, perimeter layout, and potential blind spots where intruders might gain access. This evaluation will guide your decision on the number and placement of fake security cameras, ensuring optimal coverage.
Understanding these requirements is key to following effective outdoor dummy camera installation steps. You’ll want to position the devices in visible areas, mimicking real surveillance equipment. Mounting them at strategic heights and angles allows for broader visibility, making potential intruders think your property is under constant watch.
Choose Weatherproof Fake Cameras
When selecting weatherproof outdoor fake security monitoring cameras, it’s crucial to choose models specifically designed for rugged conditions. Look for cameras with a sturdy, waterproof housing that can withstand varying temperatures and direct exposure to elements like rain, snow, and UV rays. Features like an IP67 or higher rating indicate exceptional water and dust resistance, ensuring your dummy camera installation steps aren’t compromised by the weather.
Prioritize cameras with high-definition resolution for clear images and videos, even in low-light conditions. Some models offer motion detection capabilities, adding a layer of realism to your outdoor security setup. Ensure easy installation by opting for cameras with adjustable mounts and power options that align with your intended placement, whether it’s a tree, wall, or pole.
Select Optimal Placement for Dummy Cameras
When setting up outdoor dummy cameras, choosing the right location is crucial for effective security monitoring. Consider high-traffic areas like entry points, garages, and visible windows. Opt for places where real security cameras might be expected, ensuring a realistic appearance to deter potential intruders. Keep them elevated, offering a clear view of the surroundings, and out of reach to avoid tampering.
Follow these outdoor dummy camera installation steps: survey your property for optimal positions; ensure the cameras are securely mounted or placed on sturdy stands; consider using mounting brackets for extra stability against wind or weather; and finally, align the lenses to capture key areas without obstructing lines of sight.
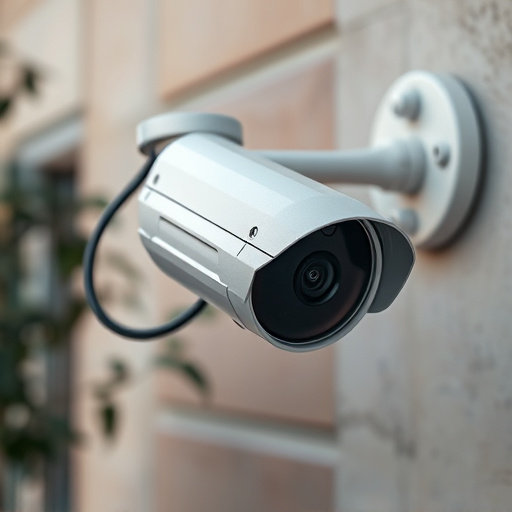
Install and Configure Outdoor Dummy Camera System
Setting up an outdoor dummy camera system is a straightforward process that involves several simple steps. First, choose a location for your camera—a spot with clear visibility and good lighting is ideal for optimal surveillance. Once you’ve selected the perfect spot, mount the camera securely using the provided hardware. Ensure the camera is level and aligned correctly to capture high-quality footage.
Next, connect the camera to a power source using the included cables. Plug it into an outdoor-rated electrical outlet or use solar panels for a wireless option. Follow the manufacturer’s instructions to configure the settings on your dummy camera’s control panel, including date, time, and recording preferences. With these steps completed, your outdoor dummy camera is now ready to ward off potential intruders and provide peace of mind.
Maintain and Update Your Weatherproof Fake Surveillance Setup
Regular maintenance is key to keeping your weatherproof outdoor fake security monitoring system effective and reliable. Start by inspecting each dummy camera at least once a month, checking for any signs of damage or tampering. Clean the lenses with a soft, dry cloth to ensure optimal visibility. Replace any batteries or power sources as needed, following the manufacturer’s guidelines for best results.
For an efficient Outdoor Dummy Camera Installation, consider updating your system periodically. Newer models often come with improved features like better resolution, night vision capabilities, and enhanced weather resistance. Keeping up with these advancements can significantly enhance the overall performance of your fake surveillance setup, providing you with more comprehensive protection for your property.
Weatherproof outdoor fake security monitoring systems offer a cost-effective and visually deterrent solution for enhancing home security. By understanding your specific needs, selecting high-quality weatherproof cameras, choosing strategic placement locations, and following simple installation and maintenance guidelines (like those outlined in this article on Outdoor Dummy Camera Installation Steps), you can create an effective dummy camera system that dissuades potential intruders without breaking the bank. Remember, while these devices serve as a visual deterrent, they should complement actual security measures for comprehensive protection.