Homeowners can significantly boost outdoor security with an Outdoor Dummy Camera Installation. Realistic cameras, strategically placed near entry points, deter intruders by simulating surveillance. The simple installation process involves mounting at optimal angles for key areas, ensuring clear visibility and stable connections. Regular testing, maintenance like lens cleaning, and optimizing placement are crucial for maximum protection. By following these steps, homeowners create a safe environment with enhanced security.
Realistic dummy cameras are an effective deterrent for potential burglars, offering enhanced home security. This article explores the benefits of outdoor dummy camera installation, guiding you through the process from selection to maintenance. Learn how these discreet devices can protect your property and provide peace of mind. Discover the optimal placement strategies and follow our step-by-step outdoor dummy camera installation steps for a robust security system.
- Understanding the Benefits of Outdoor Dummy Cameras
- Choosing the Right Location for Installation
- Step-by-Step Guide to Outdoor Dummy Camera Installation
- Maintenance and Tips for Optimal Performance
Understanding the Benefits of Outdoor Dummy Cameras
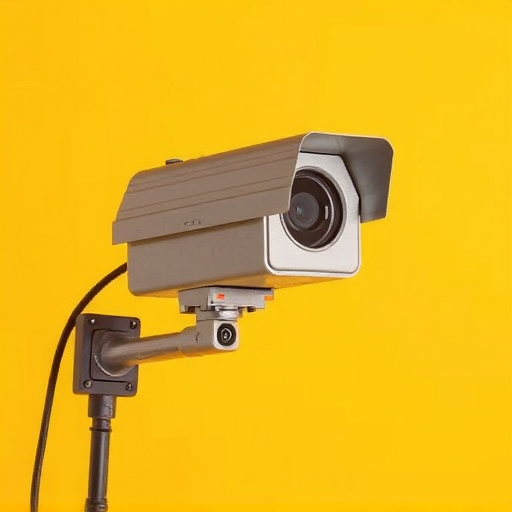
Many homeowners often overlook the importance of security measures outside their properties, but outdoor spaces are just as vulnerable to break-ins and theft. This is where dummy cameras come into play as an effective deterrent. An Outdoor Dummy Camera Installation can be a game-changer for enhancing home security. By strategically placing these realistic cameras around your property, you create an illusion of enhanced surveillance, which can deter potential intruders.
These cameras mimic the appearance of real security equipment, complete with intricate details and LED indicators, making them nearly indistinguishable from genuine devices. The installation process is relatively simple and involves mounting the cameras at optimal angles to capture key areas. This step-by-step approach ensures that your outdoor spaces are monitored, providing peace of mind and an added layer of protection against unwanted visitors.
Choosing the Right Location for Installation
When considering outdoor dummy camera installation, selecting the optimal location is key to maximizing their effectiveness in deterring break-ins. Place them in plain sight, ideally near entry points like windows, doors, or garages. Porch areas and front yards are prime spots, as potential intruders will be visibly monitored. Avoid hiding them, as that negates the point of a deterrent; instead, make sure they are securely mounted and clearly visible from all angles to deter would-be thieves.
Follow outdoor dummy camera installation steps meticulously: choose locations with good visibility, ensure proper mounting for stability, and verify that the camera’s field of view covers essential areas. Regularly test battery life and connections to keep them operational. By strategically placing these cameras, you create a safe environment, sending a strong message to potential criminals that your property is under surveillance.
Step-by-Step Guide to Outdoor Dummy Camera Installation
Installing an outdoor dummy camera is a straightforward process that can significantly enhance your home security. Here’s a step-by-step guide to help you get started:
1. Select the ideal location: Choose a spot near entry points like doors or windows, visible from the street or any approach paths. Ensure it’s legal and doesn’t invade privacy. Positioning the camera strategically will maximize its deterrent effect.
2. Mount the dummy camera: Securely attach the camera to a sturdy surface using screws or adhesive designed for outdoor use. Make sure it’s level and aligned correctly to avoid distorted views. Consider using brackets for added stability, especially in areas prone to wind or extreme weather.
3. Connect to power source: Outdoor cameras often run on electricity. Install the camera near a power outlet or use an extension cord to ensure a consistent power supply. Some models come with solar panels, eliminating the need for wires but requiring sunlight for charging during off-peak hours.
4. Configure connectivity: Ensure your network coverage reaches the installation site. Connect the camera to your Wi-Fi network using the provided instructions and app. This step allows remote access through smartphones or computers. Test the connection to ensure smooth video streaming.
5. Adjust settings and recording: Configure motion detection sensitivity, notification preferences, and recording quality as per your needs. Set up specific zones for motion tracking to avoid false alarms caused by animals or passing vehicles. Regularly review recorded footage for any suspicious activity.
Maintenance and Tips for Optimal Performance
Proper maintenance is key to ensuring your outdoor dummy cameras provide optimal security. Start by regularly cleaning the lenses with a soft, dry cloth to prevent smudges that could impair vision. Check the camera’s power source; ensure batteries are fresh and charged, or replace any damaged or worn-out cables. Regular testing of the camera’s functionality, including motion detection and video quality, is crucial.
For optimal performance, follow these outdoor dummy camera installation steps: position the camera in a strategic location with clear visibility; secure it firmly to avoid theft or damage; and ensure proper lighting to capture high-quality footage. Keep an eye on the settings, adjusting sensitivity and motion zones as needed. Regular updates to the camera’s firmware can also enhance its capabilities and security features.
Realistic dummy cameras prove to be an effective deterrent against break-ins, offering peace of mind for homeowners. By carefully choosing a prominent installation location and regularly maintaining these devices, you can significantly enhance your property’s security. Following the simple steps outlined in this guide, from selection to upkeep, will ensure your outdoor dummy camera installation is both discreet and highly functional, contributing to a safer environment.