Realistic outdoor dummy cameras offer an affordable and effective way to enhance security by strategically placing them at entry points, windows, and visible areas around a property. With LED indicators and seamless blending into surroundings, these mimic cameras deter potential criminals who may quickly identify fakes. The simple installation process involves mounting and powering the camera, with solar-powered models offering easy outdoor setup. Selecting the right location, following installation steps, and maintaining the camera ensure maximum deterrence and accurate surveillance.
Surveillance systems have evolved, incorporating increasingly sophisticated technology. One innovative addition is realistic fake surveillance equipment, designed to deter crime without breaking the bank. This article explores the world of outdoor dummy camera installation, highlighting their benefits and the strategic placement considerations. We provide a step-by-step guide to installation and offer tips for maintaining these devices’ realism and effectiveness as essential tools in enhancing security measures.
- Understanding Realistic Fake Surveillance Equipment
- Benefits of Outdoor Dummy Camera Installation
- Choosing the Right Location for Dummy Cameras
- Installation Process: Step-by-Step Guide
- Tips for Maintaining Realism and Effectiveness
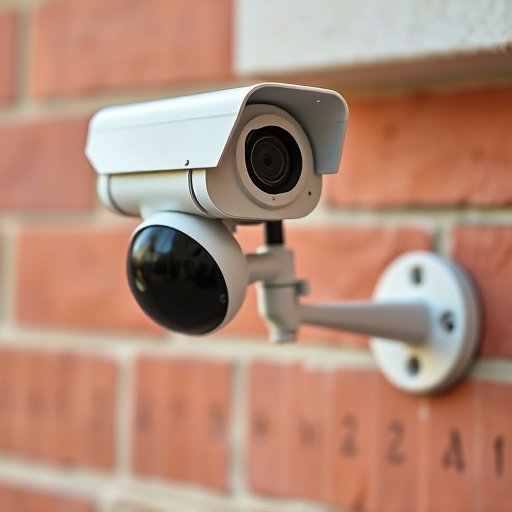
Understanding Realistic Fake Surveillance Equipment
Realistic fake surveillance equipment, often referred to as dummy cameras or decoy security systems, are an innovative solution for deterring potential criminals and enhancing home or business security. Unlike traditional surveillance gear, these mimics look identical to real cameras but serve as a strategic tool to prevent break-ins and theft. By strategically placing outdoor dummy camera installations, property owners can create the illusion of a fully functional security system without the need for costly and complex setups.
The installation process for outdoor dummy camera systems is relatively straightforward. It involves mounting the fake cameras at key locations around the perimeter of a property, such as entry points, windows, and visible areas. These decoy devices are designed to blend seamlessly into their surroundings, often mimicking real security equipment with intricate details like LED indicators and lens shapes. Proper installation ensures they appear realistic, deterring intruders who may be quick to recognize a fake from a genuine surveillance system.
Benefits of Outdoor Dummy Camera Installation
Install an outdoor dummy camera to reap significant benefits for property security and deter potential intruders. These realistic-looking surveillance devices are a cost-effective way to enhance your home or business’s safety, offering peace of mind without breaking the bank. By mimicking real cameras, they effectively act as a powerful deterrent, discouraging criminals from targeting your premises.
The installation process is straightforward, often involving just a few simple steps: mounting the camera on a suitable surface, ensuring it has a clear view of the area to be monitored, and connecting it to power. Many models are solar-powered, making them easy to set up in outdoor spaces without the need for complex wiring. This accessibility allows homeowners and business owners alike to take an active role in their security measures, providing a valuable addition to existing safety systems.
Choosing the Right Location for Dummy Cameras
When it comes to installing outdoor dummy cameras, selecting the optimal location is paramount for achieving realistic results and enhancing security measures. The chosen spot should offer a clear view of the area you wish to monitor, while also being aesthetically compatible with the surrounding environment. Consider factors such as lighting conditions—ideally, the camera should face well-lit areas during the day and be visible even in low-light scenarios.
For outdoor installations, ensure the dummy cameras are positioned at a strategic height and angle. This allows for an unobstructed line of sight without drawing excessive attention. The placement should also account for potential obstacles like trees or buildings that might obstruct the view. Following these Outdoor Dummy Camera Installation Steps will help create a convincing security setup, providing both visual deterrence and accurate surveillance.
Installation Process: Step-by-Step Guide
Tips for Maintaining Realism and Effectiveness
To ensure your outdoor dummy camera installation steps yield realistic-looking surveillance equipment, pay meticulous attention to detail during the setup process. Start by selecting a location with optimal visibility, mimicking real camera placement. Mount the dummy camera at the right height and angle, aligning it precisely with surrounding features like trees or buildings for maximum authenticity. Use weatherproof materials and consider environmental factors like sunlight exposure to prevent premature wear and tear.
For added realism, incorporate subtle movements and adjustments. Periodically adjust the camera’s focus and zoom level to mimic natural observation patterns. Add relevant accessories like cables, power supplies, and mounting brackets to enhance the setup’s credibility. Regularly clean and maintain the equipment to prevent buildup of dirt or debris, ensuring it remains in top condition for extended periods, thus effectively simulating genuine surveillance.
Realistic fake surveillance equipment, particularly outdoor dummy cameras, offer a cost-effective and discreet way to enhance security. By following the outlined installation steps for outdoor dummy camera placement and maintenance tips, you can create an effective deterrent without breaking the bank. These cameras are an excellent solution for homeowners and businesses seeking an additional layer of protection, ensuring peace of mind in today’s digital era.