Assess exterior layout, clear debris, and identify suitable mounting points for outdoor dummy cameras. Strategically place cameras at key areas, ensuring optimal field of view, lighting, and obstructions. Follow installation steps: unbox, connect power, configure settings, and fine-tune visualization parameters post-installation.
Looking to enhance your home security with a mock surveillance system? This comprehensive guide walks you through the outdoor dummy camera installation process step-by-step. From preparing your outdoor space to testing and adjusting for optimal visualization, we cover everything you need to know to deploy a realistic yet effective security simulation. Follow these detailed instructions for a successful and secure outdoor dummy camera setup.
- Prepare Your Outdoor Space for Dummy Cameras
- Select and Position Dummy Cameras Strategically
- Connect and Configure Each Dummy Camera
- Test and Adjust for Optimal Visualization
Prepare Your Outdoor Space for Dummy Cameras
Before installing outdoor dummy cameras, it’s essential to prepare your space for seamless integration and optimal performance. Begin by assessing the layout of your exterior, identifying potential mounting points for the cameras. Consider areas with clear lines of sight, away from excessive foliage or obstructions that could hinder their view. Clear any debris or overgrown vegetation from these spots to ensure the cameras have an unobstructed field of vision.
Next, choose suitable locations for placement. Walls, fences, or posts can serve as ideal mounting surfaces. Ensure they are sturdy enough to support the weight of the cameras and consider the camera’s field of view when selecting positions. By taking these Outdoor Dummy Camera Installation Steps, you’ll create a robust foundation for your mock surveillance system, enhancing security while maintaining an aesthetically pleasing outdoor environment.
Select and Position Dummy Cameras Strategically
When setting up an outdoor dummy camera system, strategic placement is key for effective surveillance. Begin by identifying areas that require close monitoring—entrances, exits, and potential blind spots. Choose a variety of Outdoor Dummy Camera models to mimic real surveillance equipment, ensuring comprehensive coverage. Consider factors like lighting conditions, obstructions, and the camera’s field of view during installation.
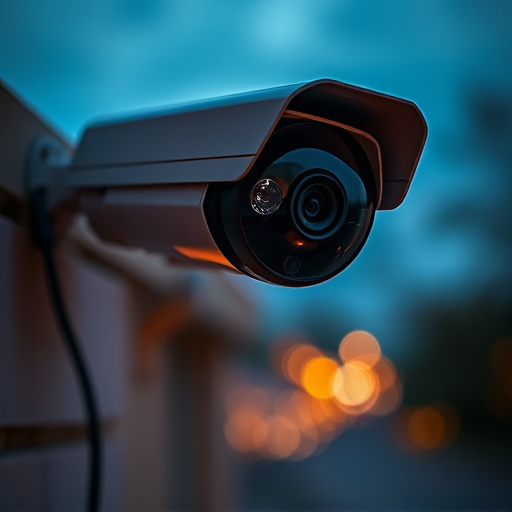
Positioning is crucial; mount cameras at eye level or slightly elevated to capture clear, unobstructed footage. Ensure they are secure and weatherproofed for outdoor use. By carefully selecting and strategically placing dummy cameras, you create an appearance of enhanced security, deterring potential intruders while providing valuable peace of mind.
Connect and Configure Each Dummy Camera
To begin the outdoor dummy camera installation steps, carefully unbox each dummy camera unit and inspect its components. Ensure all parts are present, including the camera housing, power cable, and mounting hardware. Next, locate the power source for your surveillance system and connect the power cable to the camera’s port, following the manufacturer’s guidelines for proper polarity.
Once powered on, access the camera’s settings using the provided software or mobile app. Configure the dummy camera by adjusting its resolution, frame rate, and field of view to match your desired monitoring area. You may also need to set up motion detection parameters and scheduling options to ensure optimal performance during different times of day or night.
Test and Adjust for Optimal Visualization
After completing the outdoor dummy camera installation steps, it’s crucial to test and adjust for optimal visualization. Start by powering on the device and connecting it to your network following the manufacturer’s guidelines. Once connected, access the camera’s app or software to ensure a steady feed and clear image quality. Adjust the camera’s settings, including resolution, frame rate, and field of view, to find the best balance between detail capture and bandwidth usage.
Move the camera to different angles and positions to evaluate its field of vision and ensure it covers the intended area effectively. Use obstacles or natural elements as references to confirm the camera’s line of sight. Adjust the camera’s focus and zoom levels accordingly to maintain sharp images, especially at varying distances. Regularly test the system during different lighting conditions to guarantee optimal performance in all environments.
Installing a mock surveillance system, through strategic placement of outdoor dummy cameras, is a straightforward process that can significantly enhance your home or business security. By following these simple installation steps, from preparing your outdoor space to testing and adjusting for optimal visualization, you can create the illusion of a robust security system without breaking the bank. Remember, while these dummy cameras may not capture actual footage, they serve as a powerful deterrent against potential intruders.