Install outdoor dummy cameras to enhance security and deter intruders. Prepare by selecting a visible, well-lit location with clear access. Mount the camera at eye level or slightly elevated, facing outward for optimal visibility. Follow these steps for effective outdoor dummy camera installation to boost property security and peace of mind.
“Enhance your home or business security with an outdoor dummy camera installation. This guide explores the ins and outs of fake camera infrared sensor LEDs, a smart choice for deterring crime without breaking the bank. Understanding the technology behind these LED lights is key to effective preparation and placement.
Learn the essential steps for a successful outdoor dummy camera setup, from choosing the right location to ensuring optimal visibility. Get ready to transform your surroundings into a secure environment.”
- Understanding Fake Camera Infrared Sensor LEDs
- Preparation for Outdoor Dummy Camera Installation
- Step-by-Step Guide to Outdoor Dummy Camera Placement
Understanding Fake Camera Infrared Sensor LEDs
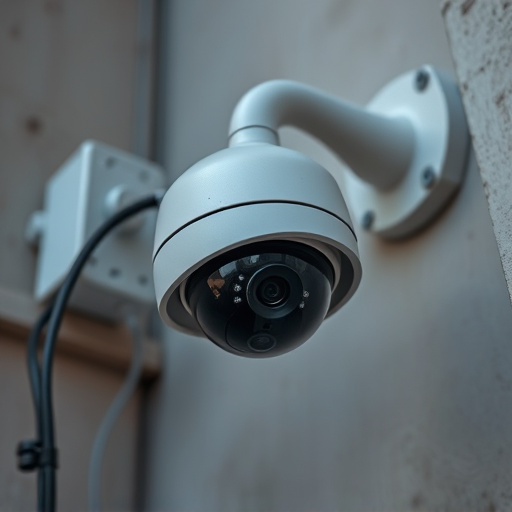
Fake camera infrared sensor LEDs are a common sight in outdoor security setups, often used as decoys to deter potential intruders. Understanding these devices is crucial for anyone looking to enhance their home’s security. These LED lights mimic the appearance of real camera sensors, providing a visual deterrent without the need for an actual camera.
When planning an Outdoor Dummy Camera Installation, knowing how to effectively use these LEDs is essential. By strategically placing them in areas where intruders might approach, you can create the illusion of a fully equipped surveillance system. This simple step can significantly deter crime and give homeowners peace of mind. Remember, while these LEDs don’t record or transmit footage, their presence alone can act as a powerful deterrent, making your property safer.
Preparation for Outdoor Dummy Camera Installation
Before installing an outdoor dummy camera, a thorough preparation process is essential for optimal results. Start by choosing a suitable location with clear visibility and adequate lighting conditions. Ensure the spot offers enough space for the camera’s placement, allowing for a wide field of view without obstructions. The area should be easily accessible for maintenance and monitoring.
Next, gather all necessary tools and components, including mounting hardware, cables, and connectors compatible with your dummy camera model. Check local regulations and permits regarding outdoor camera installations to ensure compliance. Prepare the site by cleaning and clearing any debris or obstacles around the designated installation area.
Step-by-Step Guide to Outdoor Dummy Camera Placement
To effectively deploy an outdoor dummy camera, follow these straightforward steps for optimal positioning:
1. Locate a Strategic Spot: Choose a location visible from your main entry points and any common approach areas. Consider places where natural light is ample during the day and where shadows don’t obstruct the camera’s lens. Ensure it faces outward, offering a clear view of your property.
2. Secure Mounting: Use sturdy brackets or stands designed for outdoor use to mount your dummy camera. Ensure it’s firmly attached, resistant to wind and weather conditions. Consider height—a good rule of thumb is to position the camera at eye level or slightly elevated, mimicking actual surveillance.
When it comes to Outdoor Dummy Camera Installation, understanding fake camera infrared sensor LEDs is key. By following these detailed steps, from preparation to placement, you can effectively deter criminals and enhance your home or business security without breaking the bank. Remember, a well-placed dummy camera can serve as a powerful deterrent, acting as a vigilant guardian for your property 24/7.