This text provides an in-depth guide to outdoor dummy security dome camera selection, installation, and maintenance. Key features to look for include high-resolution sensors, infrared night vision, wireless connectivity, weatherproofing (IP67 or higher), motion detection, and storage options like cloud or local backup. Before installing, conduct a checklist covering obstacles, power sources, lines of sight, and weather conditions. The installation process involves 6 straightforward steps: select a location, unbox components, mount the camera at eye level, connect to power and network, configure settings, and test functionality. Regular testing and maintenance ensure optimal performance, with periodic cleaning, battery checks, and setting adjustments based on security needs.
“Uncover the power of protection with outdoor dummy security dome cameras, a smart way to deter crime without breaking the bank. This comprehensive guide dives into the specifications and installation process, helping you choose the right camera for your needs. From understanding the basics and key features to a step-by-step outdoor installation guide, we’ll walk you through every aspect. Learn about preparation checklists, post-installation testing, and maintenance tips to ensure your dummy camera acts as a reliable security measure, providing peace of mind in today’s digital era.”
- Understanding Dummy Security Dome Camera Basics
- Key Features and Components to Look For
- Outdoor Installation Preparation Checklist
- Step-by-Step Guide to Installing an Outdoor Dummy Camera
- Post-Installation Testing and Maintenance Tips
Understanding Dummy Security Dome Camera Basics
Understanding Dummy Security Dome Camera Basics
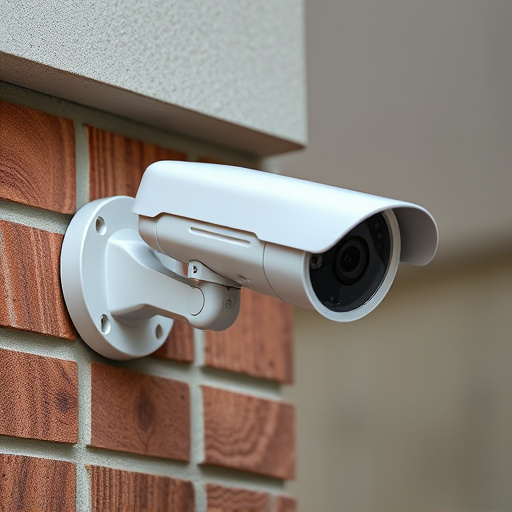
Dummy security dome cameras are designed as a deterrence measure, offering a convincing visual simulation of active surveillance. While they lack the technology to capture or transmit real-time video, their realistic appearance can significantly reduce crime rates in residential and commercial areas. These cameras are particularly useful for outdoor installations, providing a cost-effective way to enhance security without the need for extensive wiring or complex setup processes.
The installation process for an outdoor dummy camera typically involves several straightforward steps. It begins with selecting a suitable location—a prominent spot where it can be easily seen, deterring potential intruders. The camera should then be securely mounted on a pole or wall, ensuring stability and longevity. A crucial aspect is positioning the camera at eye level to mimic real surveillance equipment, maximizing its psychological impact. Once mounted, the camera’s features, such as adjustable angles and lights for night vision, can be fine-tuned to meet specific security needs.
Key Features and Components to Look For
When considering an outdoor dummy security dome camera, several key features and components merit your attention. Firstly, look for a camera with a high-resolution sensor, typically 1080p or higher, to ensure clear, detailed footage. This is crucial for identifying potential threats and identifying individuals. Additionally, infrared (IR) night vision capability allows the camera to capture images in low-light conditions, enhancing its effectiveness during early morning or late evening hours when outdoor activity may peak.
Wireless connectivity options like Wi-Fi or cellular networks offer flexibility in installation and monitoring, aligning perfectly with modern home security needs. Look for cameras with weatherproof ratings (IP67 or higher) to safeguard against harsh environmental conditions. Motion detection sensors are another vital feature; they trigger alerts when movement is detected, enabling prompt response to potential intrusions. Lastly, consider storage options – cloud-based storage ensures continuous monitoring, while local storage provides backup in case of internet outages. These components collectively contribute to a robust outdoor dummy camera installation, enhancing your home’s security through effective surveillance.
Outdoor Installation Preparation Checklist
Before installing your outdoor dummy security dome camera, it’s crucial to complete a thorough preparation checklist. This involves assessing your intended location for any potential obstacles or hazards that might affect installation and performance. Check for adequate power sources within reach—a stable AC connection is ideal for outdoor cameras. Verify clear lines of sight, ensuring no obstructions like trees or buildings will interfere with the camera’s field of view. Additionally, consider local weather conditions; select a weatherproof camera designed to withstand harsh elements.
Following these outdoor dummy camera installation steps guarantees optimal placement and functionality. Ensure your chosen location provides sufficient space for the camera’s movement, if adjustable, and that it aligns with your security needs. Proper preparation includes testing the camera’s connectivity and ensuring its visible from strategic angles. This meticulous approach ensures a secure setup, offering peace of mind and enhanced protection for your property.
Step-by-Step Guide to Installing an Outdoor Dummy Camera
Installing an outdoor dummy camera is a straightforward process that can greatly enhance your home or business security. Here’s a step-by-step guide to help you navigate through the installation process efficiently.
1. Select the Ideal Location: Choose a spot that offers clear visibility of the area you want to monitor, such as your front entrance, backyard, or perimeter fence. Ensure it’s easily accessible for power connections and has a stable surface to mount the camera.
2. Unbox Your Dummy Camera: Carefully remove all components from the packaging, including the camera body, power supply, mounting hardware, and any accessories provided. Familiarize yourself with each part to ensure a smooth installation.
3. Mount the Camera: Securely attach the dummy camera to a suitable surface using the included hardware. Make sure it’s level and aligned correctly to capture clear footage. Consider adjusting the angle for optimal viewing perspective.
4. Connect Power and Data Cables: Plug in the power supply and run cables to connect the camera to your network. Ensure proper grounding for optimal signal strength. If wire running isn’t feasible, set up a wireless connection following manufacturer instructions.
5. Configure Camera Settings: Access the camera’s settings on your device or through a mobile app. Adjust motion detection sensitivity, time zones, and other parameters according to your preferences and security needs.
6. Test and Calibrate: Power on the camera and test its functionality, including motion detection and video feed quality. Make any necessary calibrations for precise recording and clear images.
Post-Installation Testing and Maintenance Tips
After installing your outdoor dummy security camera, it’s crucial to conduct thorough testing to ensure optimal performance and reliability. Start by verifying that the camera captures clear images both during the day and night, using its infrared capabilities if applicable. Check all connections to confirm stable and secure transmission of video signals. Additionally, test the motion detection settings by simulating movement within the camera’s field of view to ensure accurate activation.
Regular maintenance is essential for keeping your dummy security camera in top condition. This includes periodic cleaning to prevent dust or debris buildup, especially if it’s exposed to harsh weather conditions. Check the battery or power source regularly and perform any necessary adjustments to settings, such as sensitivity levels and time zones, based on evolving security needs. Remember to refer to the manufacturer’s guidelines for specific maintenance instructions tailored to your camera model.
An outdoor dummy security dome camera serves as a powerful deterrent for potential intruders, offering peace of mind for homeowners. By understanding the key specifications, features, and installation process outlined in this guide – including the essential Outdoor Dummy Camera Installation Steps – you can effectively enhance your property’s security without breaking the bank. Regular maintenance and testing will ensure its continued effectiveness, providing a safe and secure environment for years to come.