Outdoor dummy cameras with blinking LEDs enhance security for homes and businesses through simple, accessible installation. The process involves selecting a strategic location, gathering tools, mounting the camera securely, connecting it to power, and customizing settings. Regular maintenance, including inspection, cleaning, and testing LED functionality, ensures optimal performance. Following structured installation steps guarantees clear visibility and unobstructed monitoring.
“Enhance your home or business security with an outdoor dummy dome camera—a clever, cost-effective deterrent. This comprehensive guide explores the benefits of these innovative devices, helping you choose the ideal model for your needs. From installation preparation to a step-by-step setup process and maintenance tips, we cover everything you need to know for a successful outdoor dummy camera installation. Learn how to maximize its potential and keep your space safe.”
- Understanding Outdoor Dummy Camera Benefits
- Choosing the Right Dummy Dome Camera
- Preparing Your Location for Installation
- Step-by-Step Guide to Installing Your Dummy Camera
- Maintenance Tips for Optimal Performance
Understanding Outdoor Dummy Camera Benefits
Dummy dome cameras with blinking LEDs offer a range of benefits for outdoor security, making them a popular choice for homeowners and businesses alike. Firstly, they act as a powerful deterrent to potential intruders due to their visible presence and constant activity indicated by the blinking LED. This simple yet effective measure can significantly reduce the risk of theft or vandalism.
The installation process for an outdoor dummy camera is relatively straightforward. The steps typically involve choosing a suitable location, mounting the camera, connecting it to power, and ensuring its visibility from all angles. By following these Outdoor Dummy Camera Installation Steps, users can maximize the benefits of enhanced security without requiring complex technical knowledge.
Choosing the Right Dummy Dome Camera
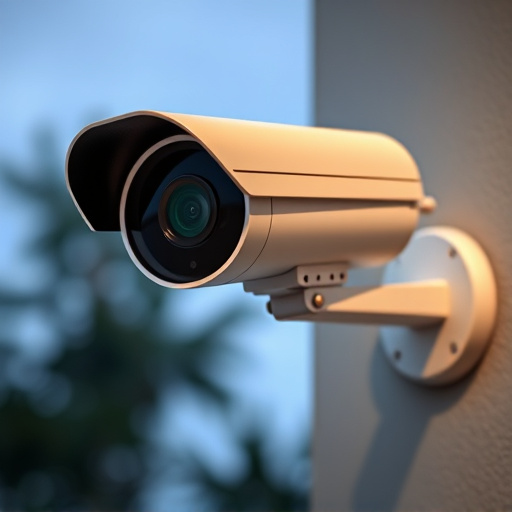
When selecting an outdoor dummy dome camera, consider its specific requirements and intended purpose. These cameras mimic real security cameras, providing a visible deterrent to potential intruders. Look for models designed for outdoor use, equipped with weatherproof housing and enhanced durability. The blinking LED feature adds realism, making it a reliable option for enhancing home security without the need for complex installation processes.
The installation process for an outdoor dummy camera is straightforward, often involving mounting it on a wall or pole at a strategic location. Follow these basic steps: identify the ideal placement for optimal visibility, secure the camera using appropriate hardware, connect it to a power source, and adjust settings according to your security system’s requirements. Ensure the camera aligns with any local regulations regarding security camera installations for peace of mind.
Preparing Your Location for Installation
Before installing your outdoor dummy dome camera with a blinking LED, there are a few preparation steps to ensure a seamless setup. Begin by assessing the location where you intend to place the camera. It’s crucial to choose a spot that offers clear visibility of the area you want to monitor while adhering to any local regulations regarding camera placement. Ensure the surface is sturdy and can support the weight of the camera, especially if it’s an elevated position.
Next, gather all necessary tools and components, including mounting hardware, cables, and power adapters. Clear any obstacles or debris from the installation site, ensuring easy access for both the camera and any required wiring. If your chosen location has varying weather conditions, consider using weatherproof fixtures and sealing any openings to protect the camera’s internal components. This step is vital for maintaining optimal performance over time.
Step-by-Step Guide to Installing Your Dummy Camera
Installing an outdoor dummy camera with a blinking LED is a straightforward process that involves just a few simple steps. First, locate the ideal position for your camera. This should be a spot visible to anyone attempting unauthorized entry, such as your front door or garage. Ensure it’s within reach of an electrical outlet and has a clear view of the area you want to monitor.
Next, unpackage your dummy camera and gather the necessary tools: a screwdriver, cable ties, and any mounting hardware provided. Attach the camera to its stand or base using the included fasteners. Secure any cables with ties to prevent tangles or damage. Once mounted, connect the camera to a power source using the included cord. Plug it into an outlet close by for easy access and optimal performance. Finally, adjust the camera’s settings according to your preferences, ensuring the LED blinking feature is activated for added deterrence.
Maintenance Tips for Optimal Performance
To ensure your outdoor dummy camera with a blinking LED maintains optimal performance, regular maintenance is key. Start by inspecting the camera for any signs of damage or wear, especially after harsh weather conditions. Clean the lens gently using a soft cloth to prevent smudges that could impair picture quality. Keep the camera’s housing dust-free and ensure all connections are secure. Regularly test the LED functionality; replace any batteries as needed, following the manufacturer’s guidelines for battery life expectancy.
When it comes to outdoor dummy camera installation steps, follow a structured approach. Mount the camera at a strategic height, ensuring clear visibility of the area you wish to monitor. Secure it firmly to avoid vandalism or theft. Connect the camera to a reliable power source and ensure proper grounding for optimal signal transmission. Regularly verify the camera’s position and angle to capture the intended field of view without any obstructions.
An outdoor dummy dome camera with a blinking LED can significantly enhance your home or business security. By following the outlined installation steps and maintenance tips, you’ll ensure optimal performance. Remember, choosing the right camera for your needs is key, so consider factors like resolution, night vision capabilities, and weather resistance. With proper care, your dummy dome camera will provide peace of mind and added protection for years to come, making it a valuable addition to any security system.