Professional-grade outdoor dummy security cameras offer an affordable way to enhance home or business security by deterring intruders through high-quality imitations. For successful installation, carefully assess location visibility and clear obstructions, ensure a stable power supply, comply with local regulations, and inform neighbors. Mount the camera securely on a pole or wall following manufacturer guidelines, position it accurately, test connections and functionality, then permanently secure mounting hardware against wind and weather.
“Enhance your home or business security with professional-grade dummy security equipment, specifically designed to deter potential intruders. This comprehensive guide explores the intricacies of outdoor dummy camera installation, offering a step-by-step approach for optimal placement and setup. From pre-installation preparation to real-time monitoring, learn how these innovative devices can transform your security landscape. Master the art of installation with our detailed ‘Outdoor Dummy Camera Installation Steps’ and experience peace of mind like never before.”
- Understanding Professional Grade Dummy Security Equipment
- Pre-Installation Preparation for Outdoor Dummy Camera
- Step-by-Step Guide to Installing an Outdoor Dummy Camera
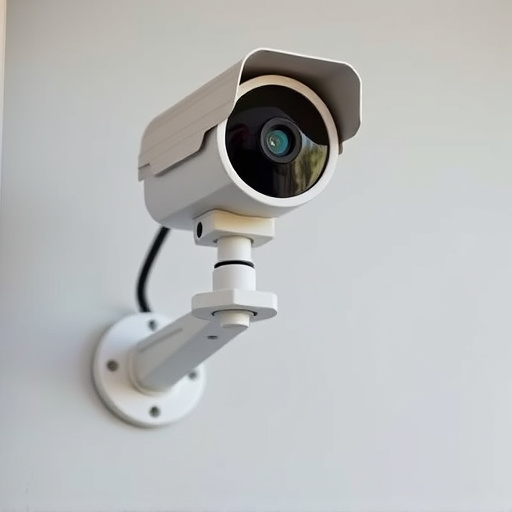
Understanding Professional Grade Dummy Security Equipment
Professional-grade dummy security equipment offers a sophisticated solution for enhancing home or business security without breaking the bank. These high-quality imitations of real cameras and sensors provide an effective deterrent against potential intruders, as their presence alone can discourage criminal activity. Unlike low-cost alternatives, professional-grade dummies are designed to withstand harsh weather conditions, ensuring longevity and reliability.
When it comes to outdoor dummy camera installation steps, the process is straightforward yet important for optimal performance. Mounting these devices in strategic locations, such as entryways or visible areas of your property, sends a clear message that your premises are under surveillance. Proper installation involves securing the dummy camera firmly, ensuring its stability against wind and other environmental factors. Additionally, aligning it correctly to capture key areas and potential blind spots is crucial for effective monitoring and peace of mind.
Pre-Installation Preparation for Outdoor Dummy Camera
Before installing an outdoor dummy camera, careful preparation is key. Start by assessing the location where the camera will be placed, ensuring it’s a strategic spot with optimal visibility and coverage. Clear any obstructions or foliage that might interfere with its line of sight. Verify that the area has a stable power supply; consider running a dedicated cable if necessary to avoid unsightly extensions. Additionally, ensure privacy by checking local regulations regarding camera placement and informing nearby residents, especially if the camera is within public view.
The installation process involves mounting the dummy camera body securely on a suitable pole or wall. Use high-quality hardware and follow the manufacturer’s guidelines for the best results. Position the camera to capture the desired area, adjusting its angle and field of view as needed. Test the power connection and camera feed, ensuring everything is functioning correctly before finalizing the setup.
Step-by-Step Guide to Installing an Outdoor Dummy Camera
Installing an outdoor dummy camera is a straightforward process that can significantly enhance your home or business security. Here’s a step-by-step guide to help you get started. First, choose a location for your camera. Select an area with clear visibility and proximity to entry points, ensuring it captures crucial zones without obstructions. Prepare the mounting surface by cleaning and ensuring it’s suitable for screw fixation.
Next, unbox your dummy camera, checking that all components—the camera body, mount, cables, and power supply—are present. Attach the camera to its mount, securing it firmly with screws or bolts provided in the kit. Position the camera according to your pre-determined site plan, ensuring optimal field of view. Connect the camera’s power cable to a nearby electrical outlet, using an extension cord if necessary. Test the camera’s functionality, checking video feed and motion sensitivity settings on your device or control panel. Once satisfied, secure the mounting hardware permanently, making sure it’s stable against wind and weather conditions.
Professional-grade dummy security equipment, particularly outdoor dummy cameras, offer a cost-effective way to enhance home security and deter potential intruders. By following the comprehensive guide provided, including pre-installation preparation and step-by-step instructions, you can easily integrate these realistic decoys into your property’s defense strategy. Remember that while dummy cameras serve as a powerful deterrent, they are best used alongside other security measures for optimal protection. With the right setup, you’ll be one step closer to securing your home and peace of mind.