Installing an outdoor dummy camera involves selecting a visible location, mounting it securely on a wall or fence, and adjusting its view to capture crucial areas without obstructing legal signage or privacy concerns. Consider weather resistance, motion detection, and low-light performance when choosing a model designed for outdoor conditions. Setup requires five simple steps: select a location with clear visibility, mount the camera at eye level or slightly elevated, connect it to power, configure settings on the companion app, and test functionality.
“Enhance your home security with the power of visual deterrence using outdoor dummy cameras. This comprehensive guide offers an in-depth look at understanding and selecting the best dummy cameras tailored for your security needs. We’ll navigate through the process of choosing a suitable model, highlighting essential features like motion detection, weather resistance, and design realism.
Learn the simple Outdoor Dummy Camera Installation Steps to set up these devices effectively, ensuring peace of mind and a layered defense for your property.”
- Understanding Dummy Cameras for Home Security
- Choosing the Right Outdoor Dummy Camera
- Step-by-Step Guide to Outdoor Dummy Camera Installation
Understanding Dummy Cameras for Home Security
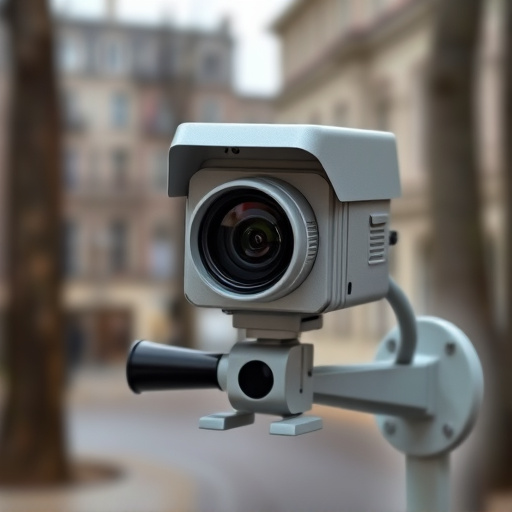
Dummy cameras, often referred to as fake or decoy cameras, are an innovative and cost-effective way to enhance your home security. These devices are designed to look like real surveillance cameras but serve as a deterrent rather than actual recording equipment. Understanding how to install an outdoor dummy camera is essential for effective home protection. The process typically involves several straightforward steps: first, select a location with clear visibility of the entry points and potential areas of concern; second, ensure the camera is securely mounted, preferably on a sturdy surface like a wall or fence using screws or adhesive; third, adjust the camera’s view to capture crucial zones without obstructing any legal signage or privacy concerns.
By strategically placing an outdoor dummy camera, you create the illusion of enhanced security, potentially discouraging intruders. It’s important to remember that while these cameras do not record video, their presence can significantly alter criminal behavior and serve as a powerful visual deterrent. The installation process is often simple enough for homeowners to handle themselves, making it an accessible option for those seeking to safeguard their properties without breaking the bank.
Choosing the Right Outdoor Dummy Camera
Choosing the right outdoor dummy camera involves understanding your specific security needs and property layout. Begin by assessing areas that require surveillance, such as entrances, exits, or vulnerable zones with limited visibility. Consider factors like weather resistance, motion detection capabilities, and low-light performance to ensure optimal performance in various conditions.
When deciding on Outdoor Dummy Camera Installation Steps, select models designed for outdoor use, featuring sturdy build quality and durable materials to withstand exposure to elements. Mounting options play a crucial role; wall or pole mounting provides flexibility, allowing you to position the camera for maximum coverage. Always follow manufacturer guidelines during installation to ensure proper functioning and optimal viewing angles.
Step-by-Step Guide to Outdoor Dummy Camera Installation
Setting up an outdoor dummy camera is a straightforward process that involves just a few simple steps. Here’s your step-by-step guide to installing one effectively:
1. Select the Ideal Location: Choose a spot with clear visibility of the area you want to monitor, ensuring it’s free from obstructions that could block its view. Consider factors like lighting—good illumination aids in better footage quality.
2. Mount the Camera: Secure the camera on a wall or pole using screws and brackets provided. Ensure it’s at eye level or slightly elevated for optimal coverage. For outdoor use, consider weatherproof options to protect against harsh conditions.
3. Connect to Power Source: Plug in the camera and ensure it’s powered up. Many modern dummy cameras are wireless, but a power connection is essential for reliable operation and uninterrupted monitoring.
4. Configure Settings on Companion App: Download the app recommended by the manufacturer and set up your camera through it. Adjust settings like motion detection sensitivity, recording quality, and notification preferences to tailor it to your needs.
5. Test and Fine-tune: Test the camera’s functionality—motion detection, video quality, audio (if available). Fine-tune settings as needed until you achieve optimal performance.
Investing in an outdoor dummy camera is a smart move to enhance your home security. By following the outlined steps for installation, you can easily set up a realistic-looking deterrent that maintains peace of mind. These cameras offer a cost-effective solution without compromising on quality surveillance. Remember, a well-informed choice and proper placement are key to maximizing their benefits, ensuring your home remains safe and secure.