Empty security camera housing units offer a creative solution for those seeking to enhance home security without breaking the bank. This article guides you through the process of transforming these empty casings into functional deterrents with a step-by-step outdoor dummy camera installation tutorial. Learn how to prepare your location, gather essential tools and materials, and install your new security measure effectively. Discover the benefits of an Outdoor Dummy Camera Installation Steps for increased home safety and peace of mind.
- Understanding Empty Security Camera Housing Units
- Preparation for Outdoor Dummy Camera Installation
- Step-by-Step Guide to Installing an Outdoor Dummy Camera
Understanding Empty Security Camera Housing Units
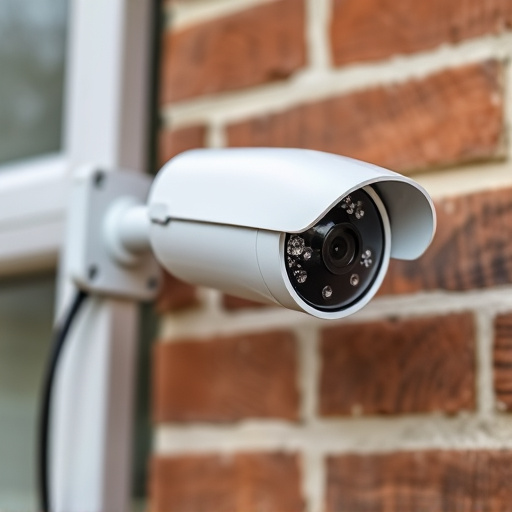
Empty security camera housing units, often referred to as dummy or decoy cameras, serve as a crucial component in enhancing outdoor security. These devices are designed to resemble real security cameras, deterring potential criminals from targeting your property. Understanding how to install one effectively is essential for maximizing its deterrent effect.
The installation process typically involves several straightforward steps. First, locate an ideal position for the dummy camera, preferably at a height that aligns with actual security camera placements. Ensure it offers a clear view of the area you wish to secure. Next, attach the housing unit to a suitable surface using screws or adhesive, depending on the design. Some models come with weatherproof seals to protect against outdoor elements. Once secured, adjust the camera’s angle for optimal visibility and, if possible, consider incorporating motion sensors for enhanced functionality.
Preparation for Outdoor Dummy Camera Installation
Before installing an outdoor dummy camera, careful preparation is key. Start by selecting a suitable location with clear visibility and adequate lighting to ensure optimal surveillance. Clear any debris or obstacles from the intended mounting spot, ensuring easy access for future maintenance. Choose a weatherproof housing designed specifically for outdoor use to protect your camera from the elements. Verify that the unit has all necessary components, including hardware and power cables, to streamline the installation process.
For successful Outdoor Dummy Camera Installation Steps, consider the height and angle strategically. Mounting the camera at eye level or slightly elevated provides comprehensive coverage. Adjust the camera’s angle to capture key areas of interest without obstructing valuable viewpoints. Ensure proper grounding for safety and stability, especially in regions prone to severe weather conditions. Test the power connections and camera functionality before finalizing the setup, ensuring a reliable and efficient surveillance system.
Step-by-Step Guide to Installing an Outdoor Dummy Camera
Installing an outdoor dummy camera is a straightforward process that can significantly enhance your home or business security. Here’s a step-by-step guide to help you get started:
1. Select the Right Location: Choose a visible spot where potential intruders can see the camera. Ensure it’s positioned high enough to avoid blocking and away from areas where debris could accumulate, like trees or overhangs.
2. Prepare the Mounting Surface: Clean the area where you plan to install the dummy camera. If necessary, use a drill with appropriate bits to create holes for mounting screws, adhering to any local regulations regarding security cameras.
3. Attach the Camera Housing: Securely fasten the empty security camera housing unit to the prepared surface using the included hardware. Make sure it’s sturdy and won’t easily be dislodged or damaged by the elements.
4. Connect Wiring (if applicable): Some dummy cameras have wires that need to be connected to a power source or a monitor. Follow the manufacturer’s instructions carefully, ensuring all connections are secure and properly insulated.
5. Position and Aim the Camera: Adjust the camera’s angle to capture the desired field of view. Ensure it’s aligned correctly to provide clear images without capturing unwanted areas like neighbors’ properties.
6. Test and Finalize: After installation, test the camera’s functionality. Check for any defects or issues with visibility, then make final adjustments as needed.
An outdoor dummy camera installation is a practical solution to enhance security while adding a layer of deception. By understanding the benefits and following the detailed steps outlined in this guide, including proper preparation and placement, you can effectively utilize empty security camera housing units to deter potential intruders. With just a few simple tools and techniques, transform these vacant housings into valuable security assets for your home or business.